It is believed that lanterns were made in Odawara since 1573. The unique feature of these lanterns is that they are cheap and foldable. Thanks to the effort of Jinzaemon, a Japanese trader, Odawara lanterns became well known throughout Japan.
Odawara lanterns come in different shapes and sizes. The most popular one is the cylindrical one that folds from 30cm to 5cm. They are light to carry, and also long lasting. The art of making these lanterns has spread all over Japan but the master craftsmen remain in Odawara.
A private school or craft house will allow you to get hands-on experience in lantern making, and even better, you can take the lantern home. This 'rest house' is located close to the Odawara station, just a few meters from the castle. This activity is open to the common during limited times of a month. On every second Monday and fourth Sunday of a month, there are instructors that will guide you through an interactive 90 minute session of lantern making. The fee is just ¥1000, which is very reasonable considering the cost of the materials. You can take your creation back home too!
I personally had a great time. This was in fact one of my best experiences in Kanagawa. When I entered the house I was greeted very warmly. The instructors were extremely kind and even though they didn't speak much English, they got me making lanterns right away.
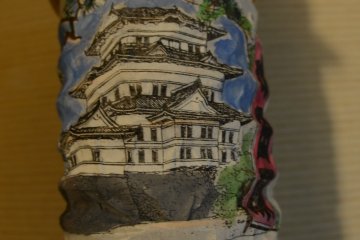
The first step was to select my design. I chose the castle. The instructor then gave me a template and some water colors, and asked me to start coloring the template. There are several ways you can customize it using stamps, character impressions. You just have to ask the instructor.
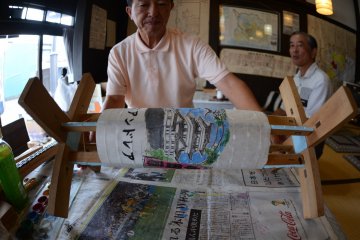
The next step is the framework. This is in fact the most tricky part. The instructor will set up the equipment for you and give you pieces of wood. He will then show you an example on how the wooden stick is curved and formed into a circle. After all the 12 sticks are done, you have the skeleton of the lantern.
The next step is relatively easy. You simply have to glue the framework, and roll the paper slowly.
The final step involves adding the two bases. You have to pierce the bottom of the lantern with the pins on the base and then seal it. You let it dry for 20 minutes and then you can finally fold it and take it home.
This activity is really fun, and there are number of ways you can be creative and customize it, but you need to talk to the instructor first. For ¥1000, this is probably the best authentic crafting experience you can get in Japan.


